Home/3D-Printed Implants
3D-Printed Implants for Bone Loss and Non-Union
When a segmental bone defect has no standard answer, a titanium implant can be designed from the patient’s own CT scan and printed to fit it exactly. This page covers a published tibial bone-gap reconstruction — walking at three months, bone ingrowth confirmed on CT at eighteen — how these implants are made, and where the technique genuinely helps.
The Case
A Tibia That Would Not Heal
A 38-year-old man was hit on the road. He sustained fractures of the medial malleolus and the distal tibia and fibula, with a grade 3B open wound — the grade where skin and soft tissue are lost along with the bone, and infection is the constant worry.
He was treated first with an external fixator and a fibular plate. Five months later the tibia had still not united. The bone ends had thinned rather than healed — an atrophic non-union — and the leg had lost 2.5 cm of length. He could not weight-bear.
What was done differently
Rather than bone grafting or months in a frame, the defect was solved as a design problem. A CT of both legs was taken, and the uninjured tibia was mirrored to reconstruct what the damaged one should have looked like. The gap between that ideal and the remaining bone became the shape of the implant.
It was printed in titanium as a lattice mesh with cylindrical cavities — open enough for bone to grow through, hollowed to keep the weight down, and strong enough to carry the leg.
Non-weight-bearing for six weeks, then progressive loading. Full weight-bearing by three months — and no bone graft was harvested at any point.
The Evidence
What the Follow-Up Scans Showed
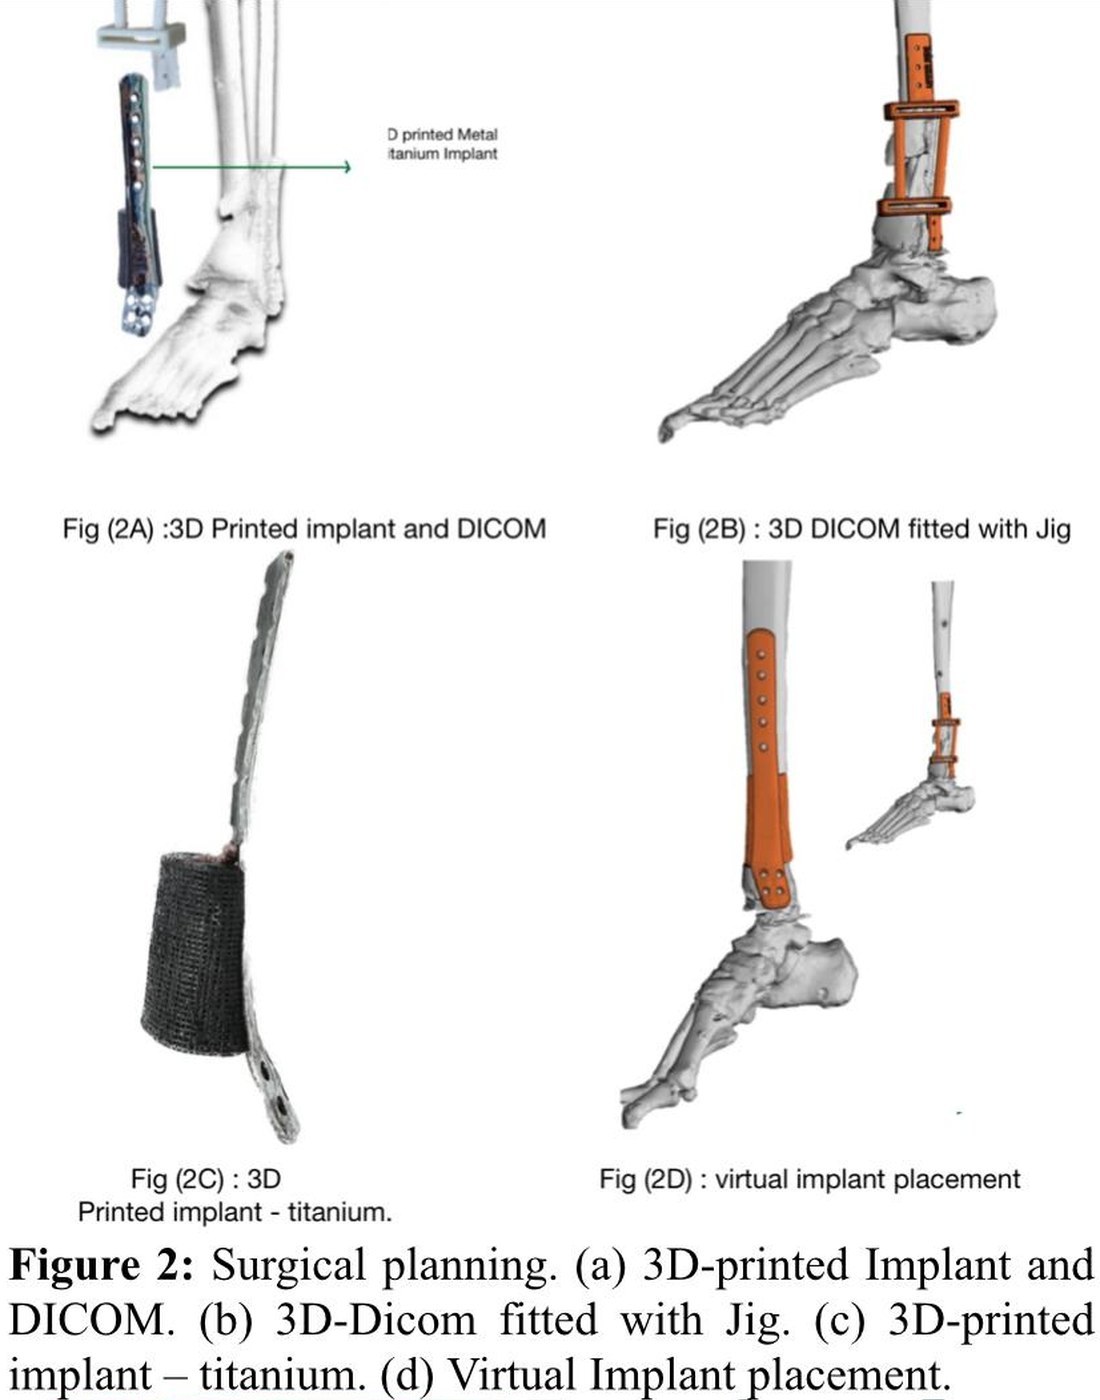
The planning was done in MIMICS from the CT data: the implant designed into the defect, a jig built to seat it in the planned position rather than an approximate one, and the whole placement rehearsed virtually before anyone operated.
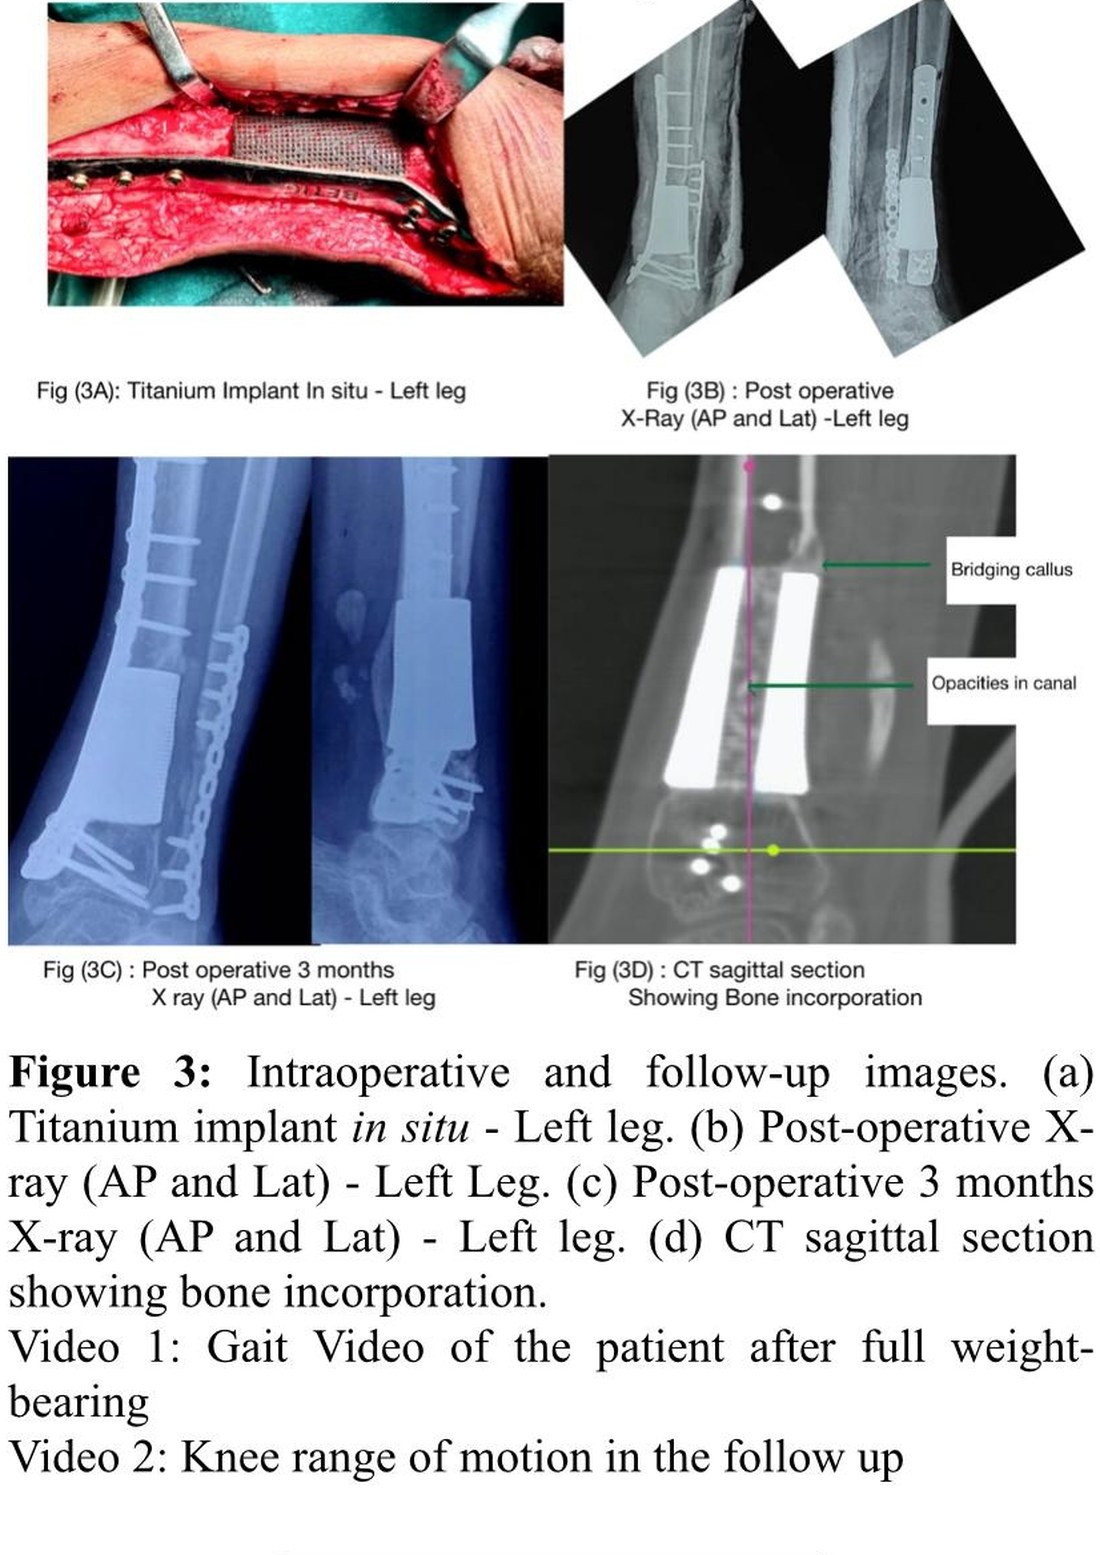
The scan that matters is the last one. At eighteen months, CT showed bridging callus forming inside the mesh canal as well as at the junction with the host bone. The implant had stopped being a spacer and become part of the skeleton.
That is the entire argument for a porous printed structure over a solid one, and the paper says it plainly: the porous nature of the mesh is what allows bone to grow across a gap this size, which is what made early weight-bearing possible without a graft.
Non-Union
If Your Fracture Has Not Healed
Most people reading this did not come looking for 3D printing. They came because a bone has not healed, an operation has already been done and has not worked, and the next suggestion sounded worse than the last one.
What a non-union actually is
A fracture that has stopped healing. Usually called a non-union (often written nonunion) once around six months have passed with no progress on X-ray, and often suspected well before that. It is not a matter of being patient for longer — the biology has stalled and something has to change.
- Atrophic non-union — the bone ends have thinned and gone quiet. Blood supply, not movement, is usually the problem. This is what the published case above was.
- Hypertrophic non-union — abundant callus but no union, because the fracture is still moving. Better fixation often solves it.
- Infected non-union — infection must be cleared before any reconstruction, and this is where most attempts go wrong.
- Gap or segmental non-union — bone is missing, not just unhealed. No amount of fixation bridges a hole; the gap has to be filled.
Bone loss, in plain terms
Sometimes bone is destroyed at the moment of injury — a high-energy road accident, an open fracture where fragments were lost or had to be removed. Sometimes it is taken later: dead bone cleared out after infection, or bone removed with a tumour. Sometimes it is lost slowly around an implant that has loosened.
However it happens, the result is the same. There is a length of skeleton missing, the limb is short, and it will not carry weight.
The options, honestly
- Bone grafting — works well for small gaps. Beyond a few centimetres it becomes unreliable, and the graft has to be taken from somewhere.
- Bone transport (Ilizarov or a rail fixator) — genuinely effective and still the right answer for many patients. The cost is time: often a month in a frame for every centimetre gained, with pin care throughout.
- Vascularised fibular graft — a living graft moved with its blood supply. Powerful, and a long microsurgical operation with a second surgical site.
- Custom 3D-printed implant — fills the gap in one operation with a structure bone can grow into. Costs more and takes weeks to design and manufacture.
- Amputation — discussed more often than patients expect, and sometimes genuinely the better life.
No one of these is best. The right answer depends on the size of the gap, whether infection has been cleared, the state of the soft tissue and blood supply, your age and what you need the limb to do. Anyone recommending one before seeing a CT is guessing.
The Problem
Why Bone Loss Defeats an Off-the-Shelf Implant
Almost every implant in orthopedics comes in sizes. That works because most anatomy is close enough to a standard shape, and a surgeon picks the nearest fit and adapts.
Bone loss breaks that. A defect left by infection, a failed previous implant, a tumour excision or a high-energy injury has no standard shape — it is specific to that patient and that accident. There is no size on the shelf for a hole.
Where a printed implant earns its place
- Segmental bone loss in a weight-bearing bone, where the gap must both fill and carry load
- Non-union that has already failed conventional plating or nailing, sometimes more than once
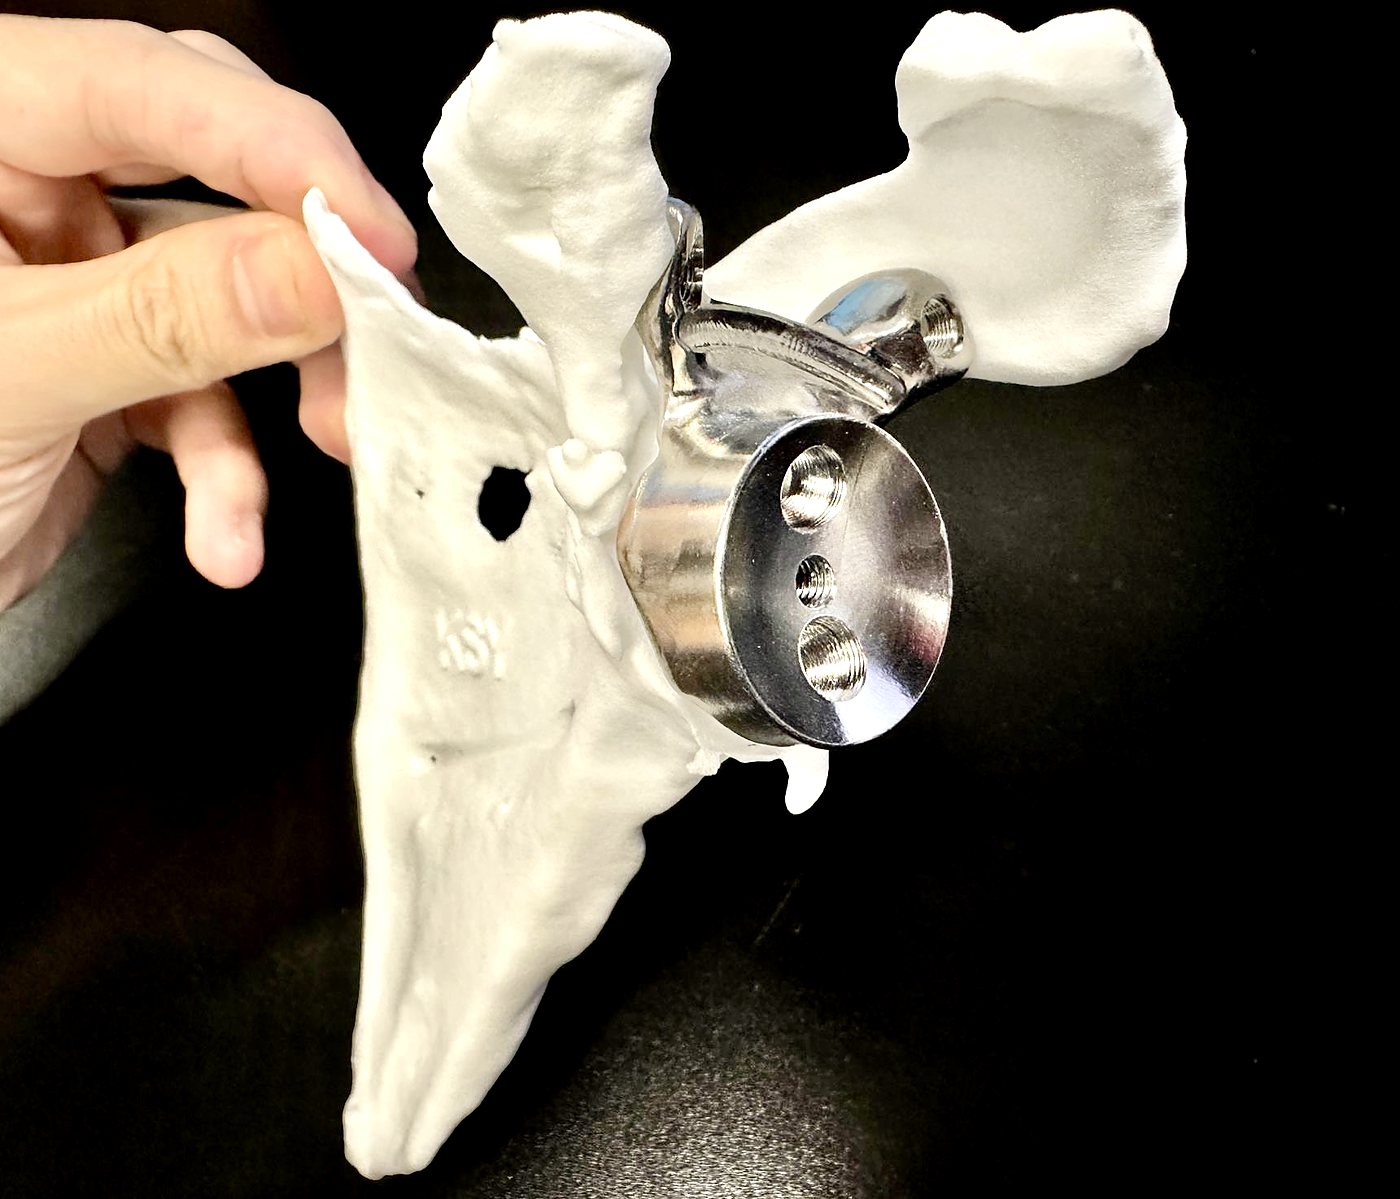
- Massive glenoid or humeral bone loss, where the socket has no floor left to seat a standard shoulder component
- Failed revision arthroplasty with cavitary defects that standard augments cannot fill
- Pelvic and acetabular defects, where anatomy is complex and access is limited
- Post-tumour reconstruction, where the resection defines the defect
And where it does not: a straightforward fracture, a routine joint replacement, or any problem a standard implant solves well. Printed implants are for the cases that fall outside the catalogue. A surgeon offering one for an ordinary knee is selling technology, not treating a problem.
How It Is Made
From CT Scan to Titanium
The process is unglamorous and mostly happens before theatre.
- A fine-cut CT of the affected limb and, where useful, the opposite side as a template for what normal looks like in this patient.
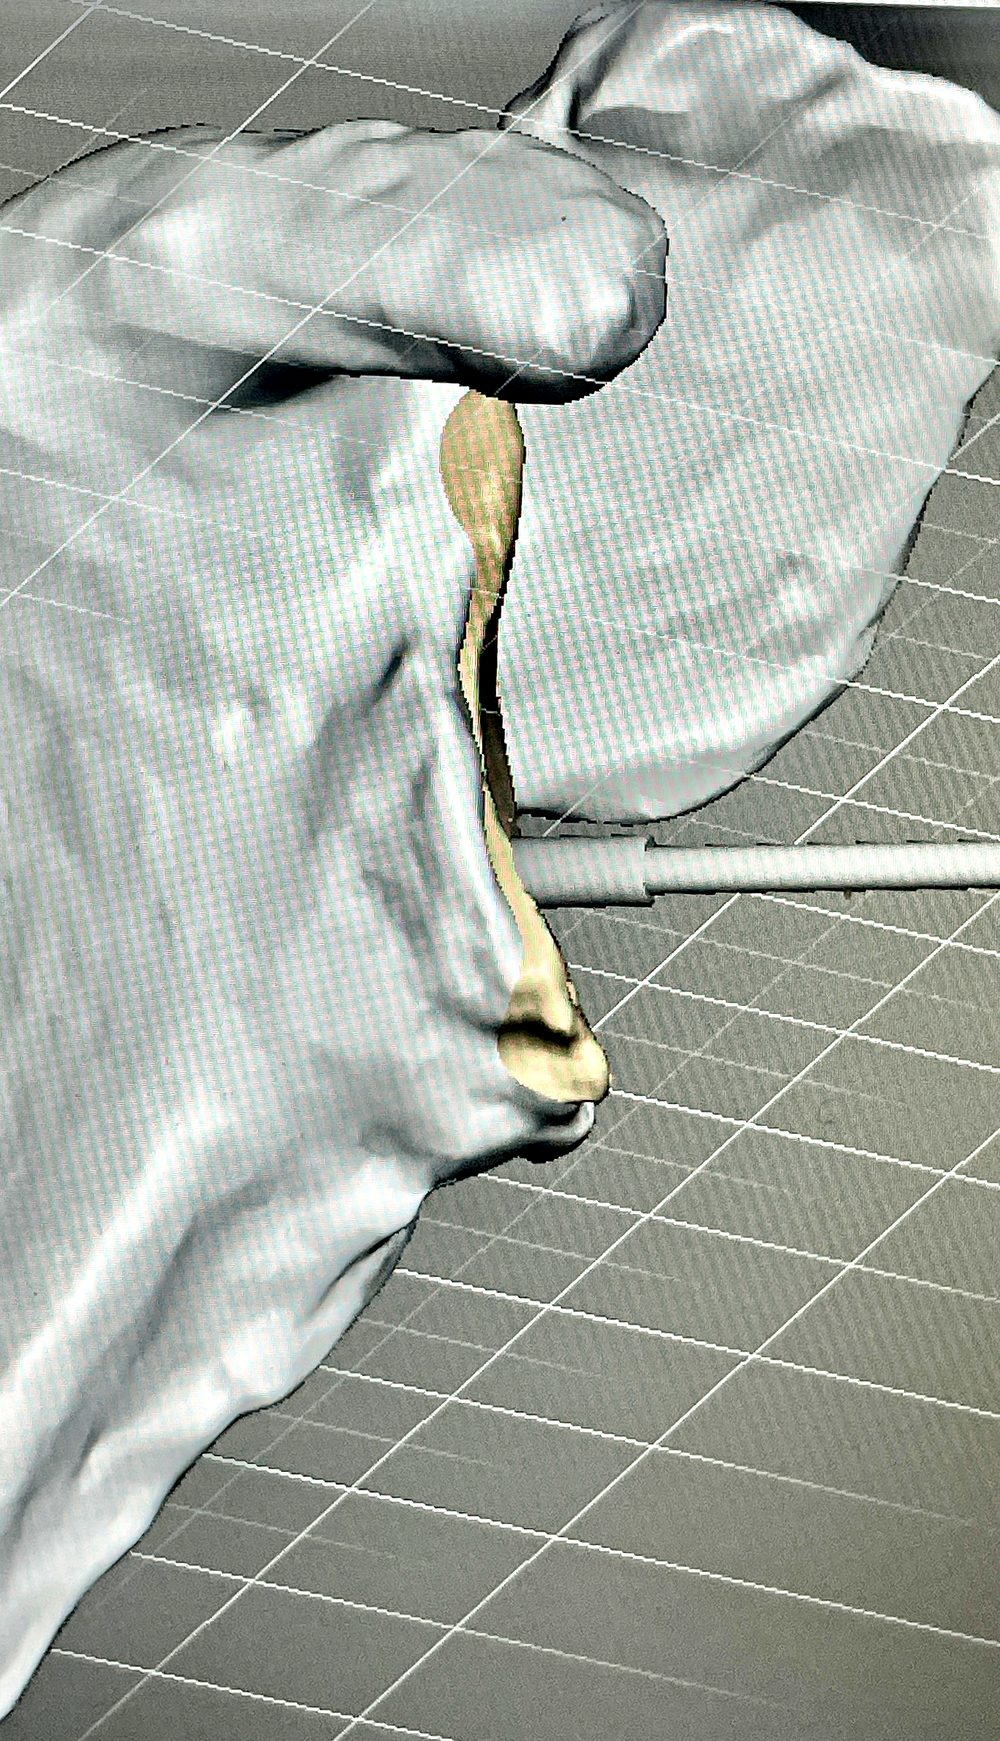
- A three-dimensional model is built from that scan — the actual bone, not an idealised one.
- The implant is designed into the defect, along with any jigs needed to put it in the planned position rather than an approximate one.
- The design is rehearsed virtually, and revised. This is where most of the thinking happens, and where errors are cheap.
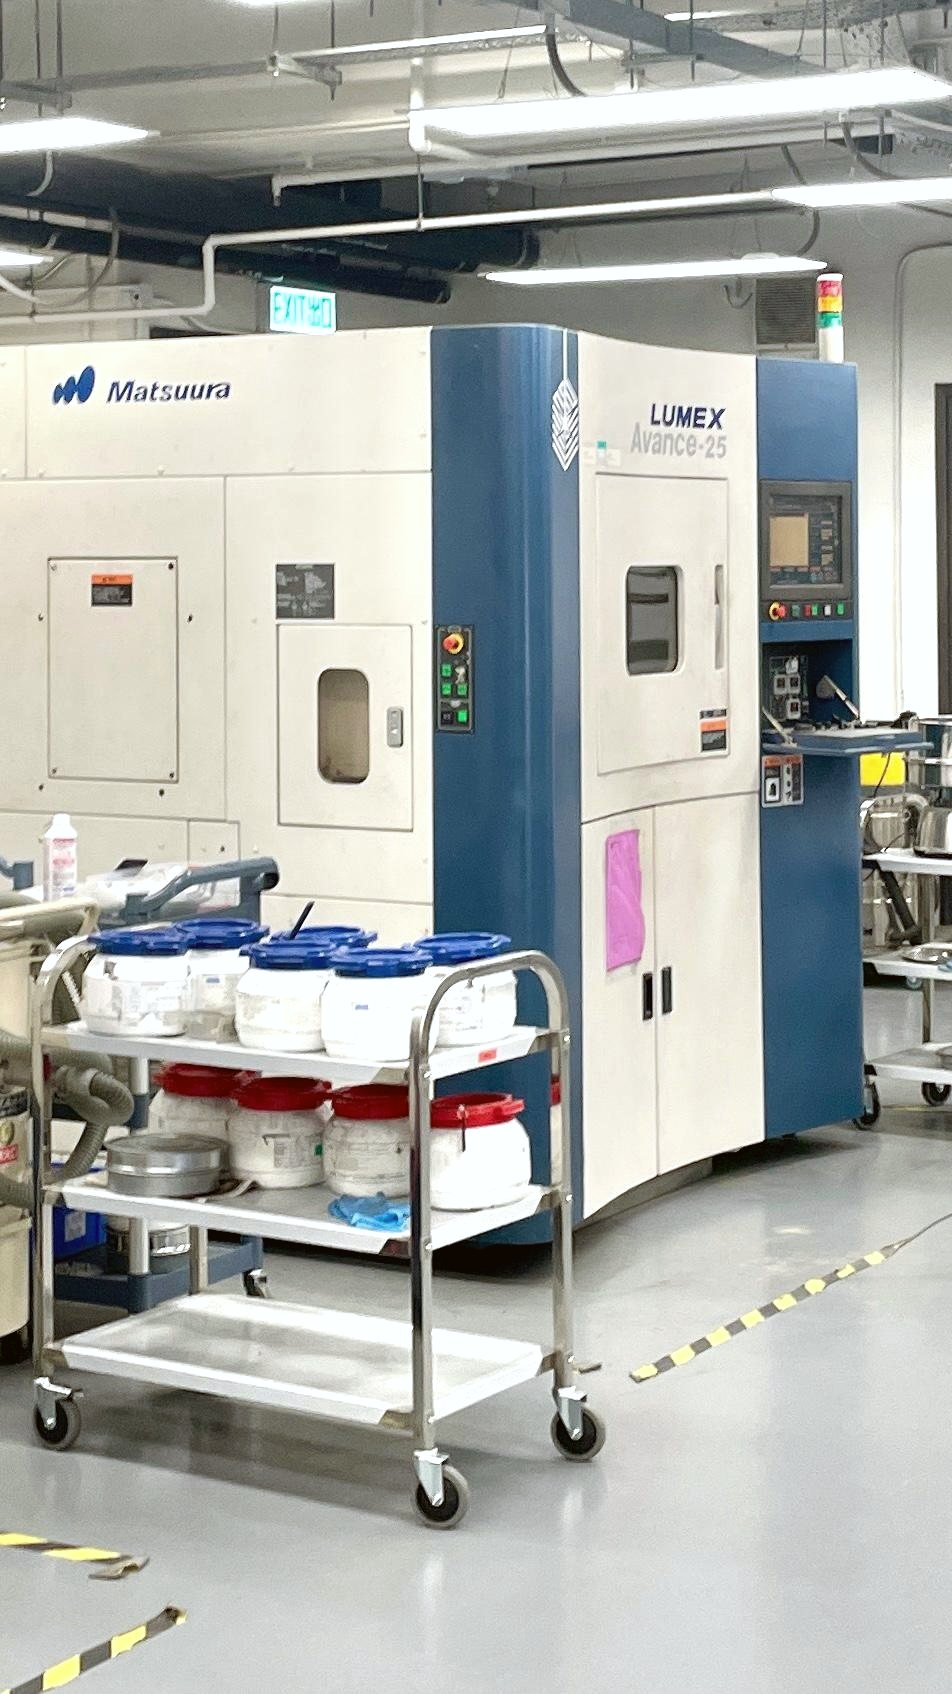
- It is printed in medical-grade titanium, layer by layer, then cleaned, heat treated and sterilised.
Why the surface matters more than the shape
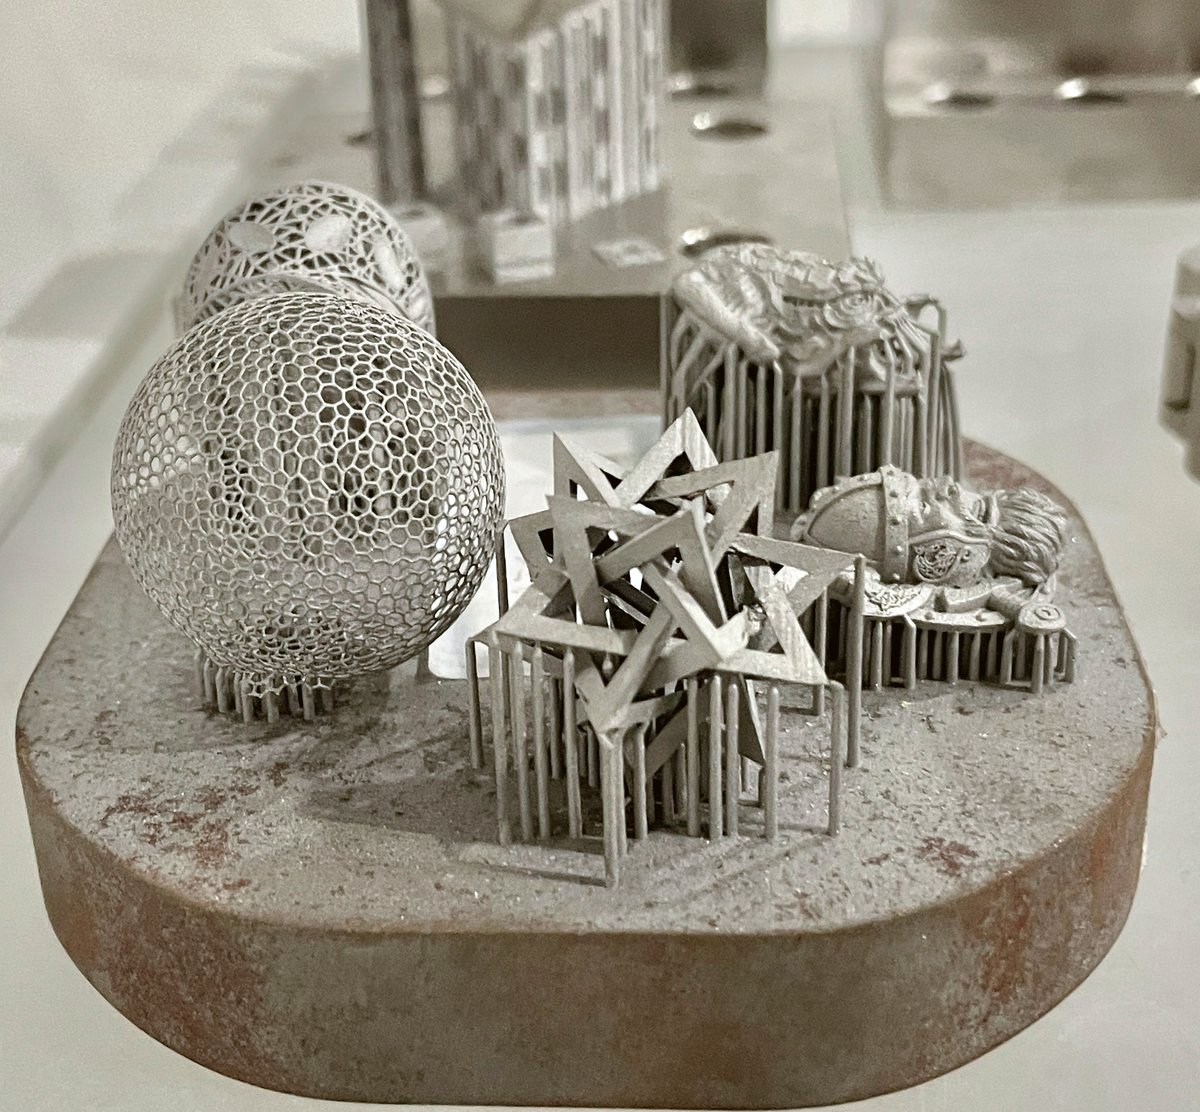
Printing lets you build geometry that cannot be machined or cast — in particular a porous lattice, an open scaffold of titanium struts with spaces the size of the gaps inside real bone.
That structure does two things a solid block cannot. Bone grows into it, so fixation improves over time instead of depending forever on screws. And a lattice can be tuned closer to the stiffness of bone, which reduces stress shielding — the slow weakening that happens when an implant is so much stiffer than the bone beside it that the bone stops being loaded and thins.
Where It Applies
Across the Skeleton
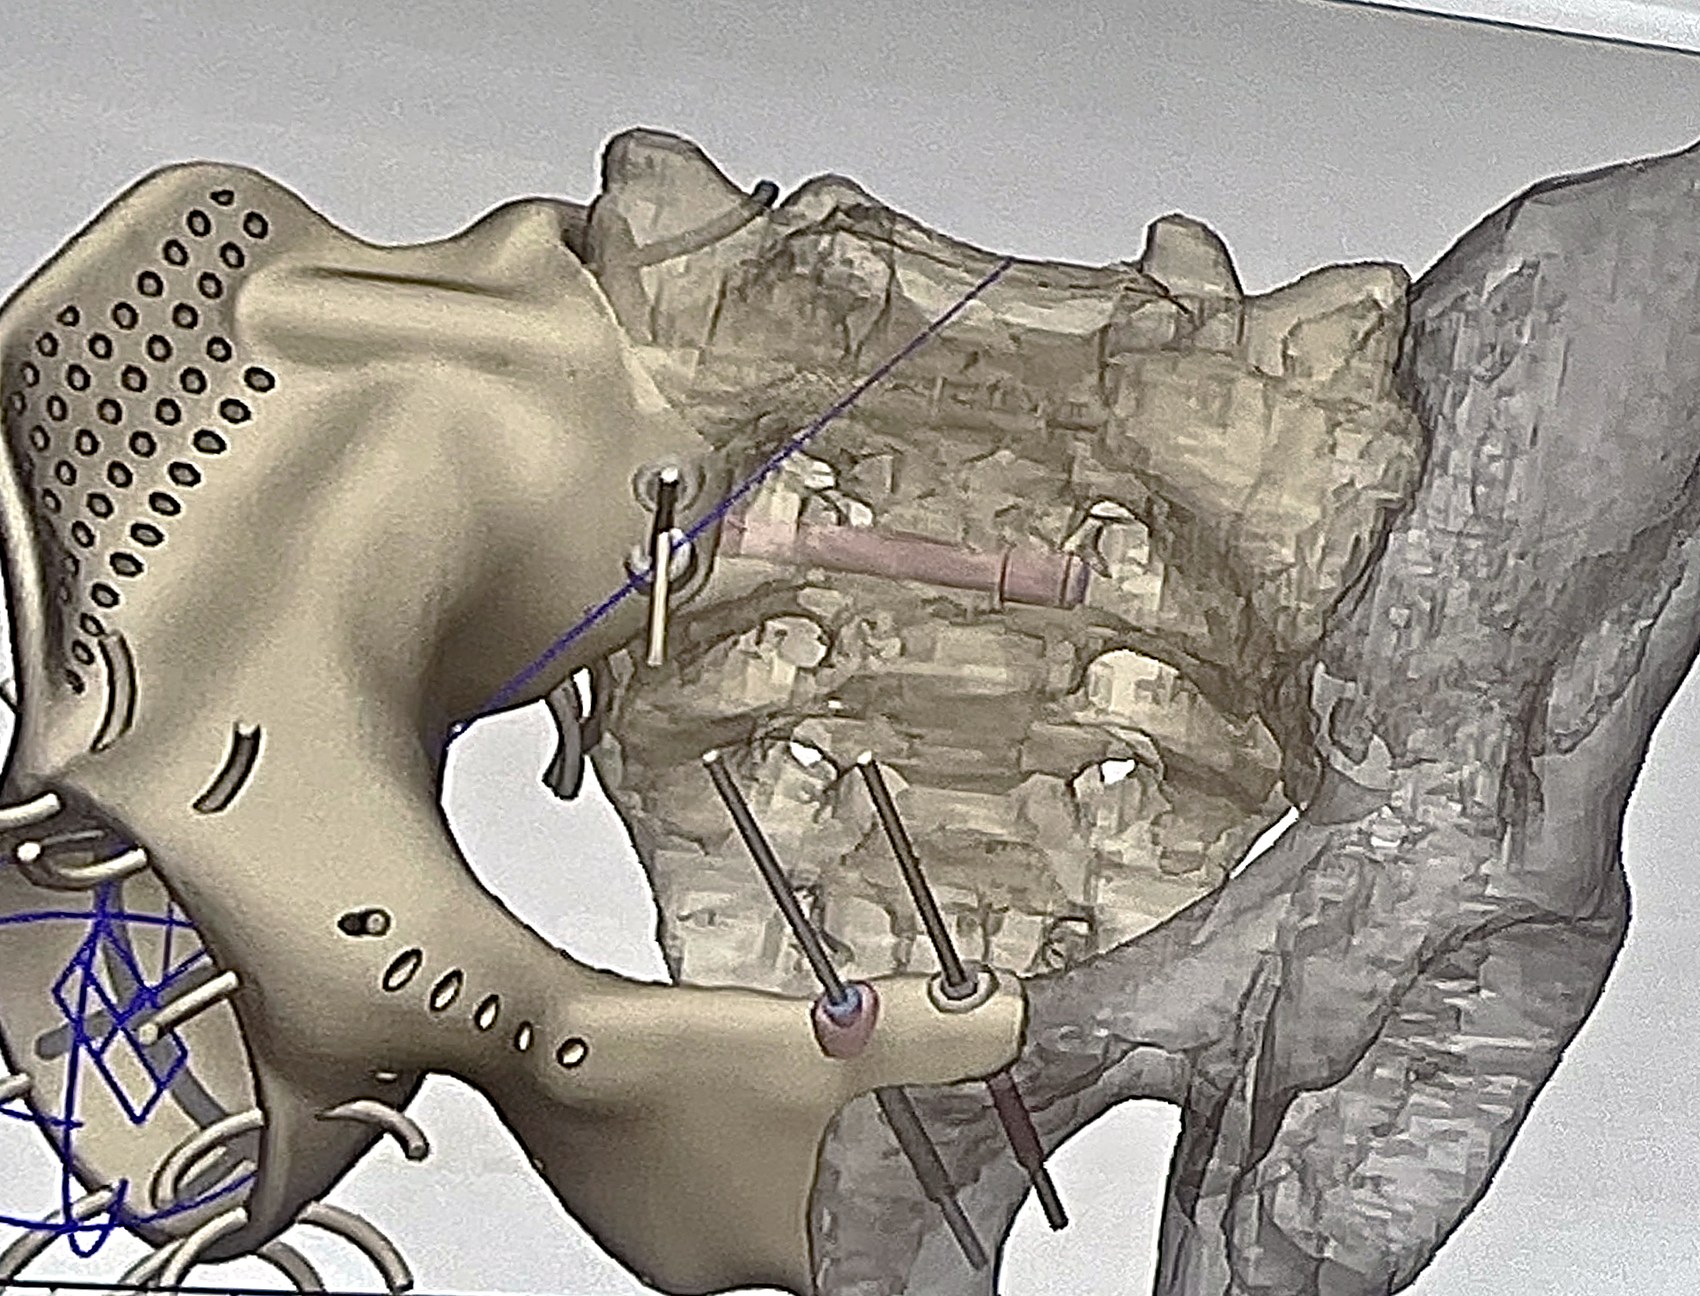
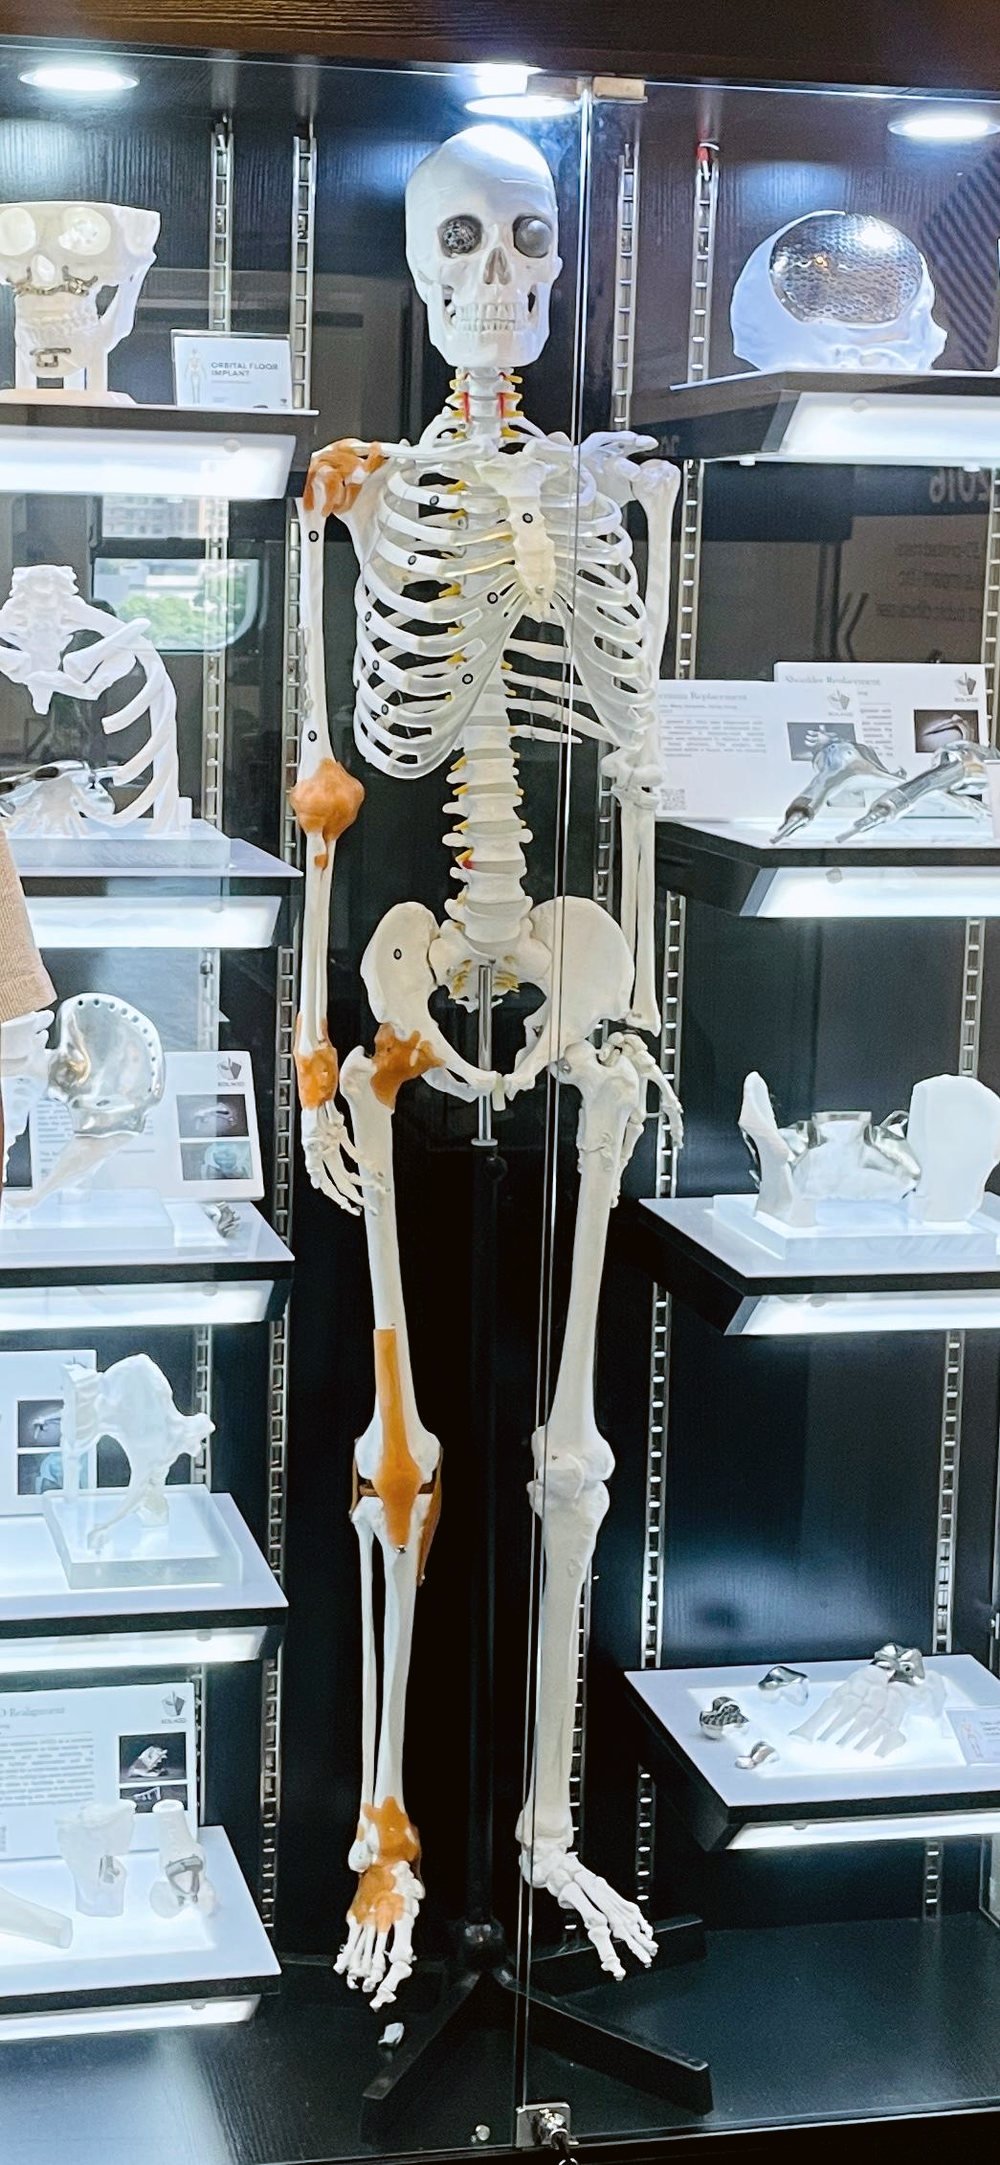
The technique is not confined to long bones. Printed patient-specific implants are in routine use for the orbital floor and cranium in maxillofacial and neurosurgery, for the pelvis and acetabulum, for the shoulder, spine and the small bones of the hand and foot.
What connects them is not the anatomy but the situation: a defect with no standard answer, in a place where fit determines whether the reconstruction works.
A large share of this work is limb salvage — reconstruction undertaken so that a limb can be kept and used, where the realistic alternative was amputation or a permanently non-functional leg or arm. That is the case in the tibial reconstruction above, and in most post-tumour and infected bone-loss reconstruction.
Alongside implants, the same planning produces patient-specific surgical guides — jigs printed to sit on the patient’s own bone in one position only, so that a cut or a screw goes exactly where it was planned. In reverse shoulder replacement, guides designed this way cut around a fifth off operating time in Dr. Kachare’s series, which matters most in the difficult cases where the landmarks are gone.
Where the Training Came From
Hong Kong, and the People Doing This Work
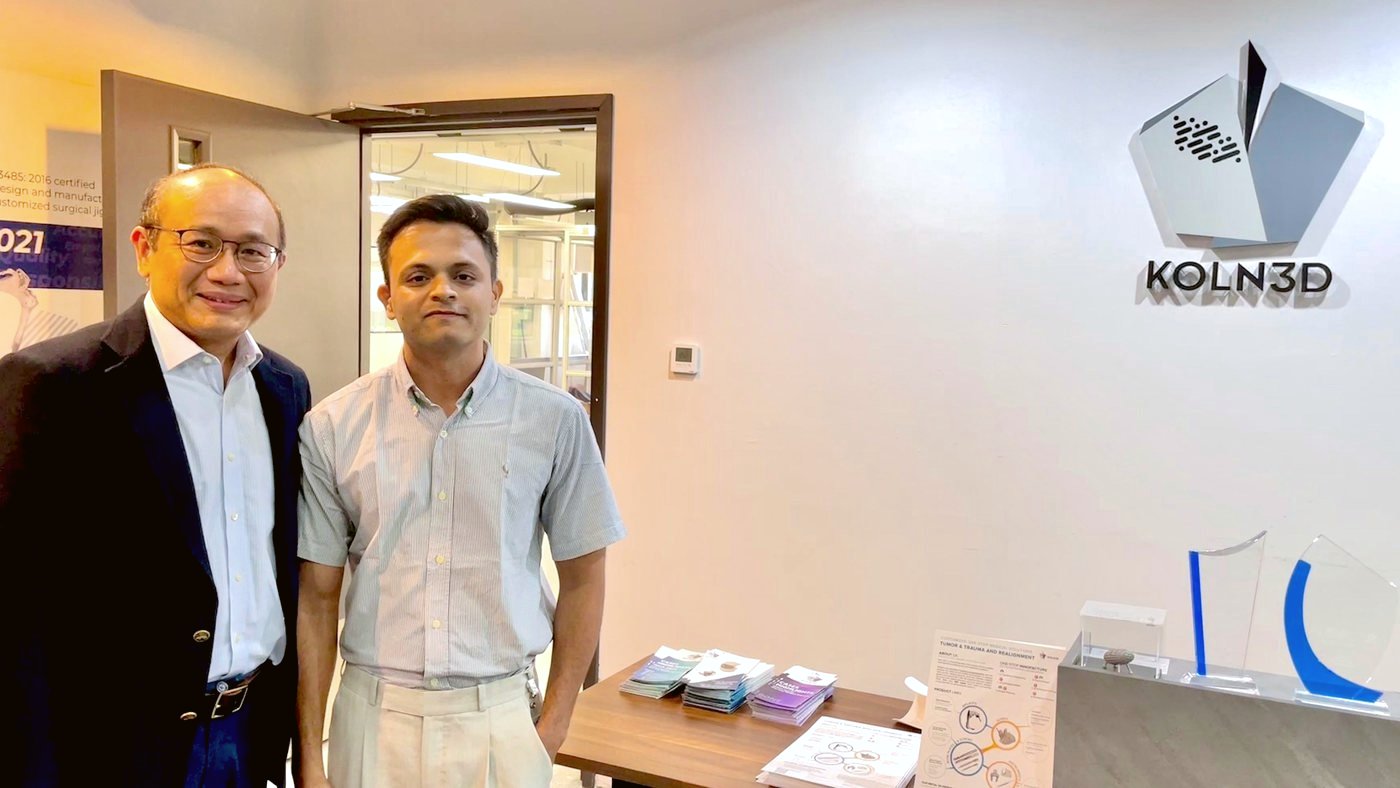
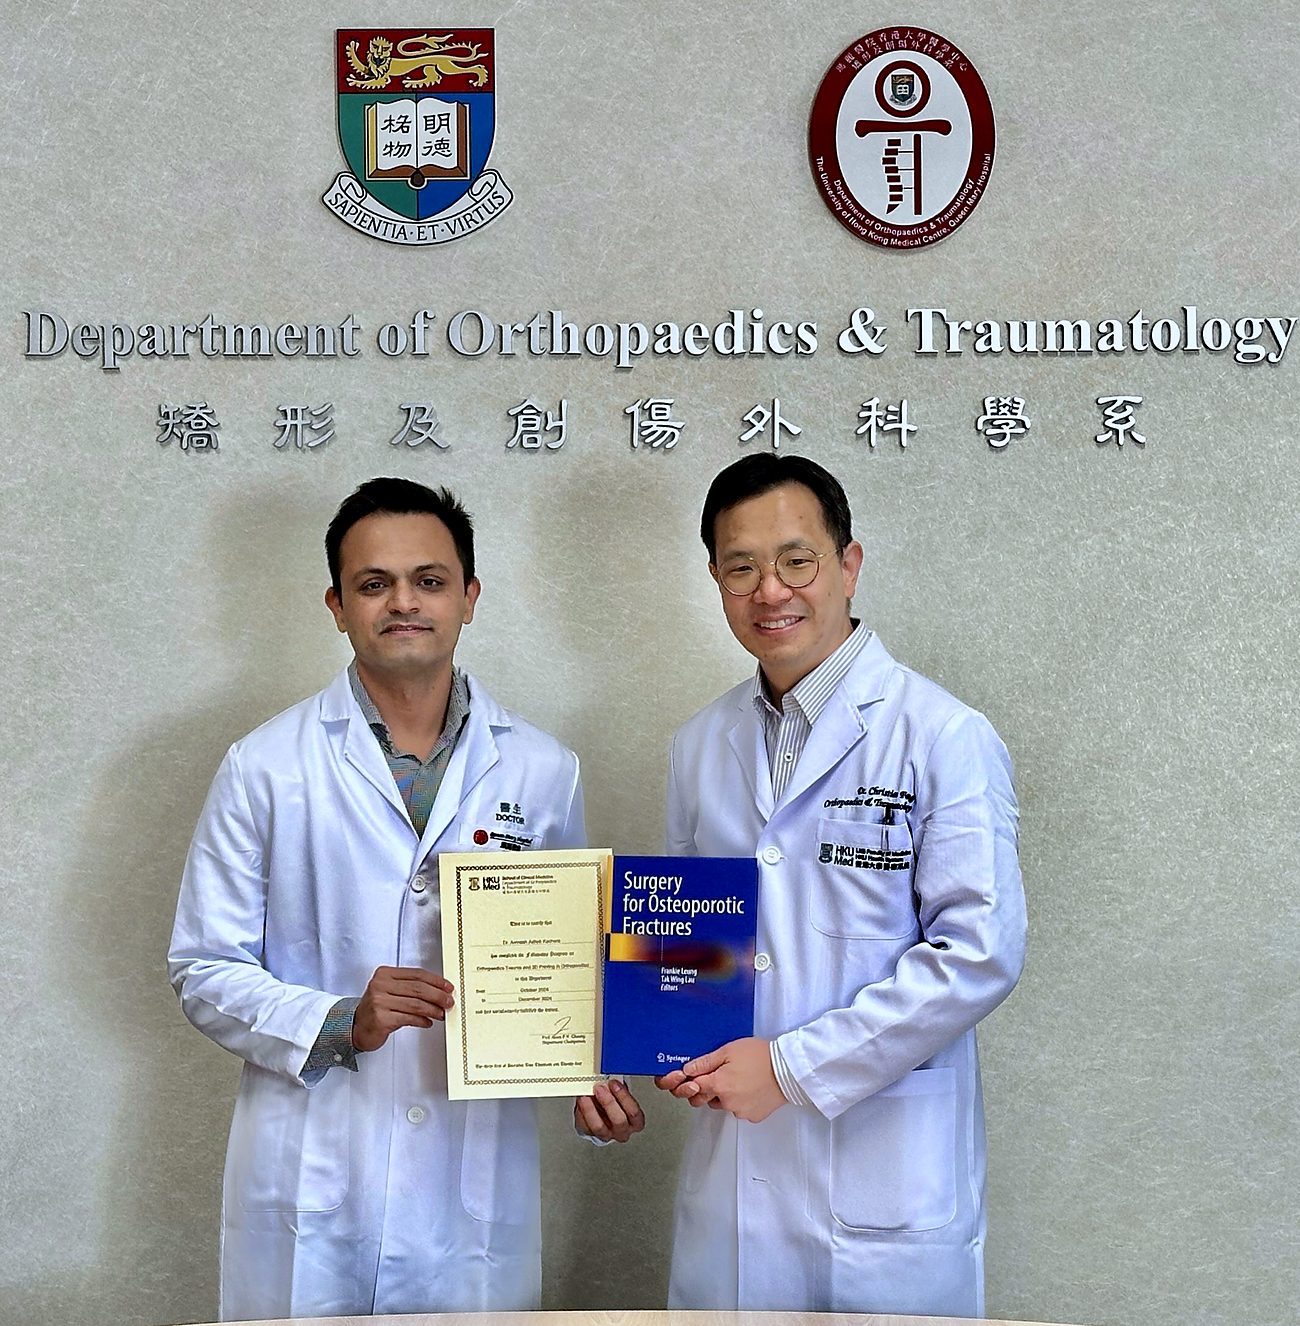
Dr. Kachare completed a fellowship in trauma and 3D printing at Queen Mary Hospital, University of Hong Kong — one of a small number of centres where printed implants are designed, manufactured and implanted as part of ordinary practice rather than as an experiment.
The work there ran from the clinic to the print floor: sitting with the engineers who build the implants, watching designs fail and be revised, and following cases through to follow-up imaging. That is a different education from reading about the technique.
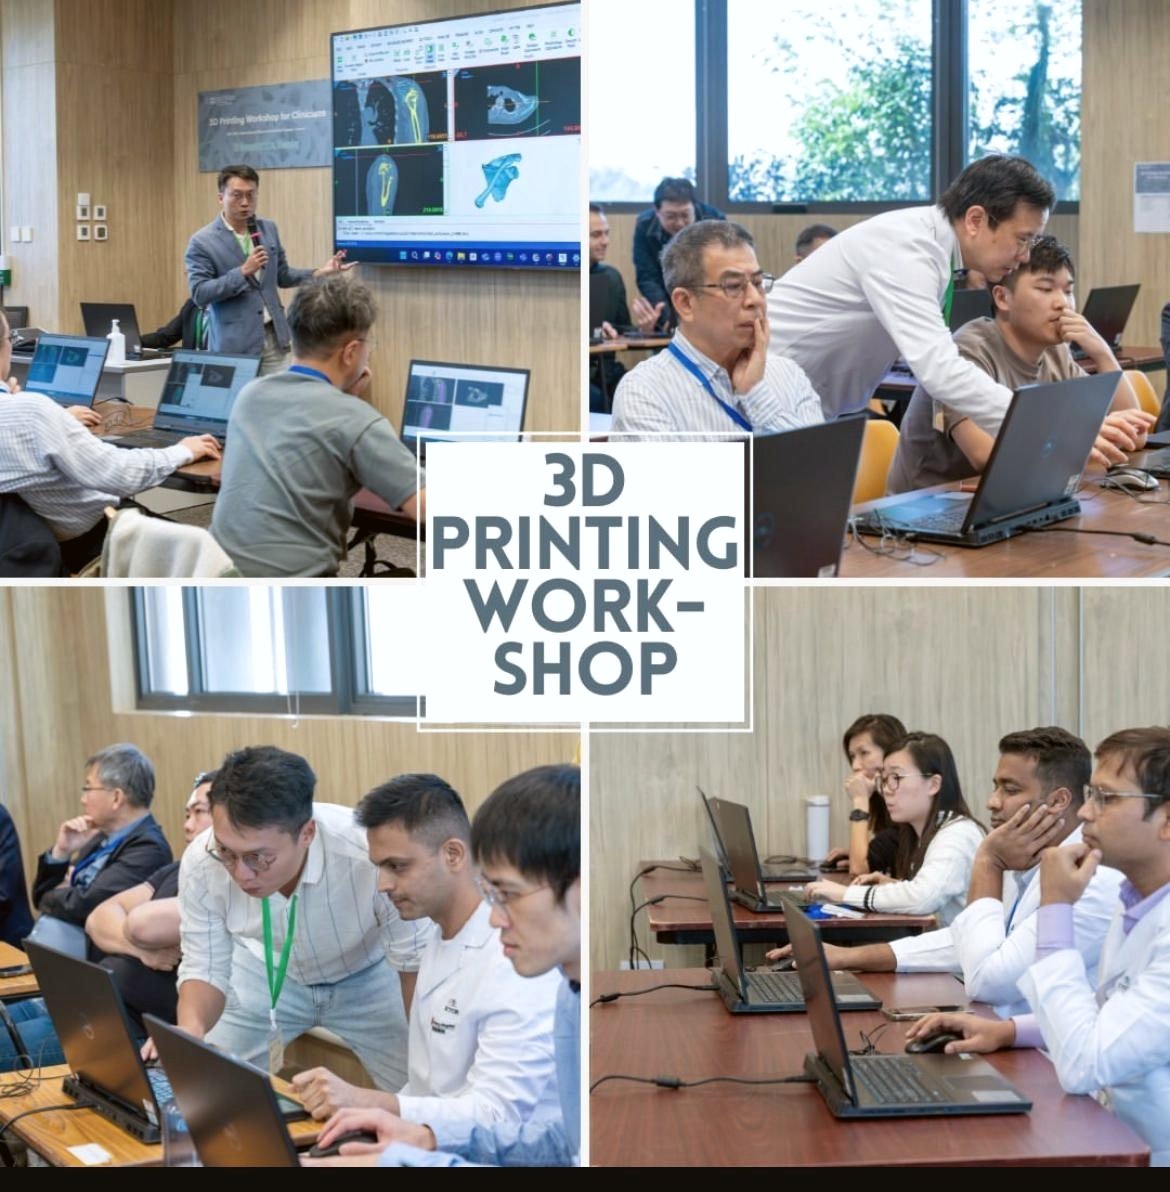
He has since trained more than fifty clinicians in 3D printing applications for orthopedic surgery, and reviewed outcomes across forty-plus printed implant cases to refine how the planning is done.
Shoulder
Massive Glenoid and Humeral Bone Loss
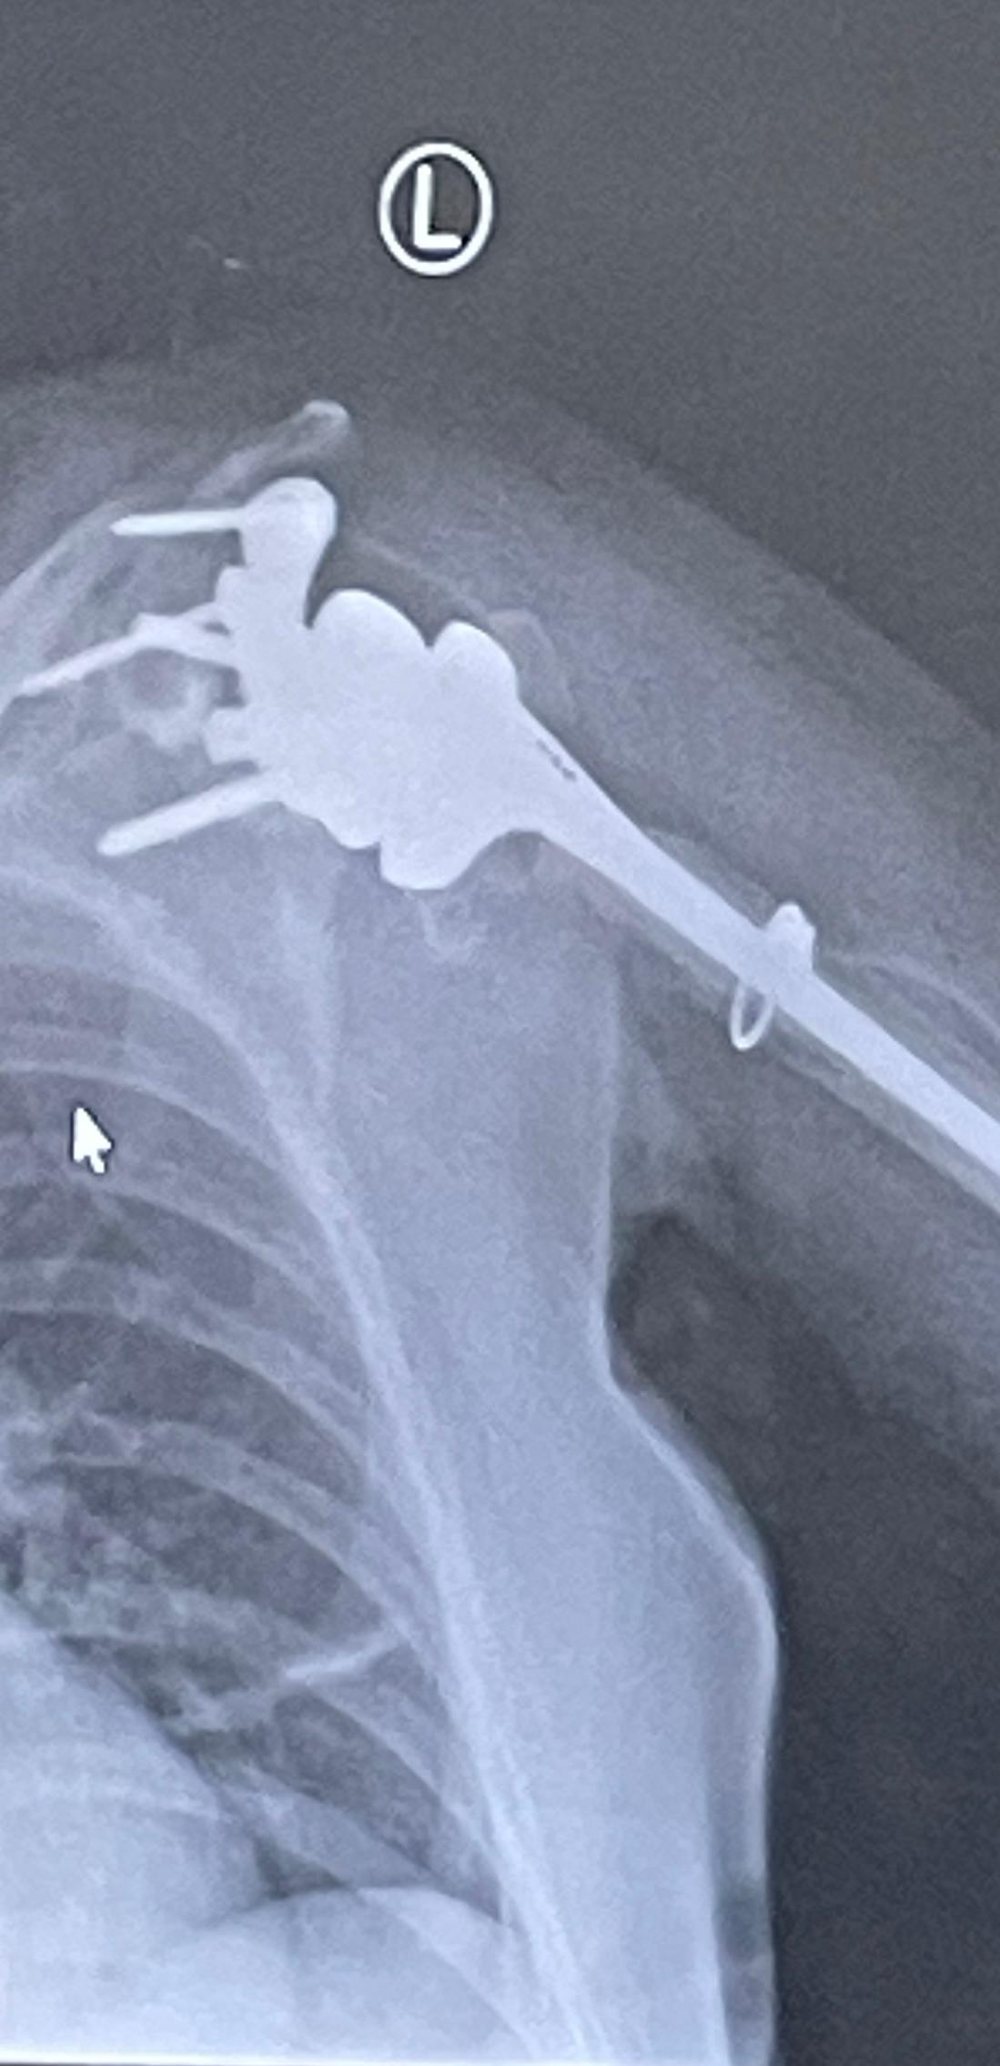
A shoulder that has lost the glenoid — the socket — along with the top of the humerus is among the hardest reconstructions in the upper limb. There is nothing left to seat a standard component against, and the alternatives are a fused joint or a flail arm.
This reconstruction was developed by Dr. Christian Fang at Queen Mary Hospital. Dr. Kachare was part of the team on the case, not its originator, and the technique is his to credit. Being in that theatre is the reason the approach can now be considered here.
In Practice
What This Means If You Are the Patient
Printed implants are not a routine offering and should not be presented as one. They are slower to arrange than standard surgery — the CT, the design, the manufacture and the sterilisation take weeks, not days — and they cost more.
They are worth that when the alternative is a year in an external frame, an operation that has already failed twice, or an amputation.
If you are considering this
Bring everything: the original injury films, every operation note, the implants used, culture reports if there has been infection, and the most recent CT. A defect cannot be planned from a plain X-ray alone, and the history usually explains why previous attempts failed.
An honest first answer is often that a conventional operation would serve you better. That is not a refusal — it is what the assessment is for.
Surgicare Plus — Mira Road
Shop No. 40-41, Poonam Cluster 2
Mira Road East, Mira Bhayandar
Maharashtra 401107
Phone / WhatsApp: +91 94219 91530
Monday to Saturday
10:00 AM – 8:00 PM
Sunday — by appointment
If you are travelling in for an opinion on a complex reconstruction, send the imaging ahead on WhatsApp so it can be reviewed before you make the journey.
3D Printing
3D-Printed Implants — Frequently Asked
A fracture that has not united by around six months is a non-union, and it needs a reason rather than more waiting. The assessment looks for infection, inadequate fixation, poor blood supply or a gap in the bone — each has a different answer. Bring the original injury films, the operation notes, and a recent CT; the history usually explains why the first attempt failed.
A non-union is a fracture that has stopped healing but where the bone is still all there. Bone loss means a length of bone is actually missing — destroyed in the injury, removed with infection or a tumour, or lost around a failed implant. Fixation alone cannot bridge a gap; the missing bone has to be replaced or regrown.
Not better — different. Bone transport regenerates your own bone and remains an excellent option, but typically means roughly a month in a frame for every centimetre gained. A printed implant fills the gap in one operation, so recovery is far shorter, but it costs more, takes weeks to manufacture, and is not suitable where infection is still active. The size of the gap and the state of the soft tissues decide it.
Only once the infection is cleared and proven cleared. Implanting into an infected bed is how these reconstructions fail. That often means a staged plan — debridement, antibiotics and a spacer first, reconstruction later — which takes longer but is the difference between a limb that works and one that does not.
An implant designed from the patient’s own CT scan and manufactured in medical-grade titanium, layer by layer, to fit one specific defect in one specific person. It is not a standard implant that has been modified — it does not exist until it is designed for that patient.
The material is the same medical-grade titanium alloy used in conventional implants, and titanium has decades of use in orthopedics behind it. What printing changes is the shape and the internal structure, not the metal. Printed implants are manufactured under regulated conditions, heat treated and sterilised like any other implant.
That is the purpose of the porous lattice, and in the published case the follow-up CT showed bridging callus and bone incorporation into the implant. It is not automatic — it depends on blood supply, stability, infection control and the patient’s own healing capacity, all of which are assessed before the operation is offered.
Weeks rather than days. The CT, the design and its revisions, manufacture, heat treatment and sterilisation all take time. In an emergency this is not the right technique; it suits planned reconstruction, which is what most of these cases are.
Considerably more than a standard implant, and it varies too much with the size and complexity of the defect for a single figure to be honest. The estimate is given in writing after the CT and the design plan, before anything is committed. Insurance cover varies and needs to be established case by case.
For most problems a standard operation is better — faster, cheaper, and supported by far more long-term evidence. Printed implants are for defects with no standard answer. If a conventional operation would serve you, that is what will be recommended.
Consultation, planning and follow-up are at Surgicare Plus, Mira Road East. Surgery takes place at the associated hospitals in and around Mira Road and Mumbai, chosen for the theatre and post-operative support a given reconstruction needs.
Have a complex bone defect or a non-union that has failed before? Send the imaging on WhatsApp
WhatsApp Us